
The Ford Focus RS MK3 comes with a great suspension in my opinion - especially for the track, or performance situations. The communication from the suspension is great, and it has a sharpness that helps build the cars character. So why would I want to mess with that? - Well… This car represents a lot of things for me, and one of them is just a fun wild fast car, something to be different, and try different things with. This leads me to something I’ve wanted to do for a long time, and I decided why not now - let’s install Air Suspension in the 2016 Ford Focus RS MK3 and figure out how to use that for performance driving. (and keep that stock suspension around when it’s time to go back to stock!)
But wait Alex - Air Rides can’t be used to race?!?!?! I give you this to consider:
Check out more about the Ford Focus RS Project here: https://alexwitherspoon.com/2016-ford-focus-rs/
To start, I had to do a lot of research, and figure out the best way I wanted to install this system, since it involves springs composing of bags of air rather than steel, that are fed by air lines from valves that control how much pressure is delivered to each corner, and ultimately a tank and pump.
Here is an installation video from a store that kind of covers all the major steps.
Air Bag Height
So many folks install air bags to lower a car on the ground and ‘slamm it’ I didn’t really have that goal in mind, and below you can see my lowered RS next to a stock height example. Stock height from center of the wheel to the wheel panel is 14 inches front, and 14.75 inches rear. My goal was to lower the car 1 inch and keep a mostly OEM level while slightly lowering center of gravity. This will change as I get more testing in and find the ideal height.

I also wanted to be able to clear obstacles like getting the car out of the driveway up a steep incline without scraping, and over speed bumps. It’s a low car by default, but with roughly 2-3 inches of lift above stock available I can clear every obstacle, and more easily load the car onto a trailer.
Routing Power and Air Lines
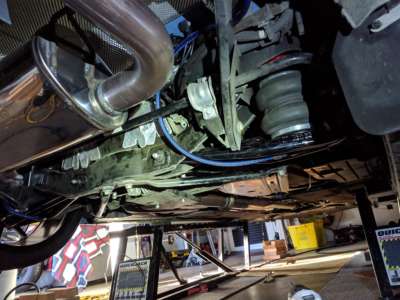
For the air bags to inflate we need to route air lines from the air management system to each air bag, along with power and a control harness for the modules used to manage the system. I routed all cables and air lines along the frame beneath the car and shielded by cable shrouds as well as the under body aerodynamic panels. Make sure to leave slack on air lines for bending of the suspension, and make sure nothing is rubbing, or contacting metal without rubber to reduce the risk of puncture.
Air Management
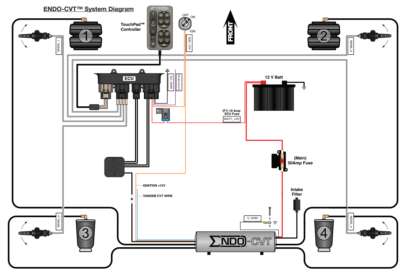
Now that we have air springs and shocks installed, we need a system to manage the air pressure to change height, but also to maintain the right elevation as road conditions change as well as loading on the car changes. The below diagram shows all the major components of the system.
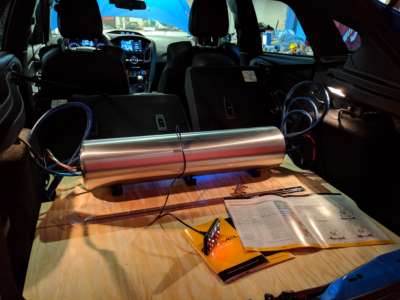
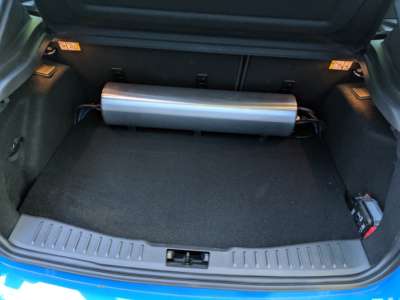
I mounted these components in the trunk on a fake floor from heavy marine plywood to help handle the vibration from the air pump.
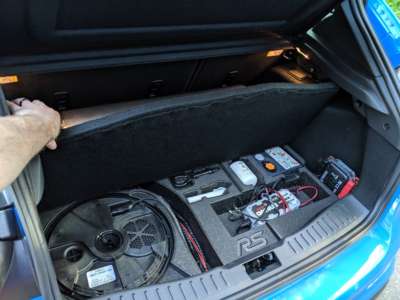
The End State
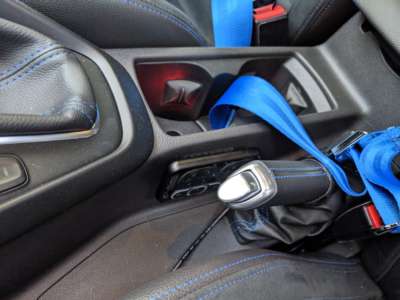
The system is managed from the black controller box behind the emergency brake. This keeps the system out of sight and easily accessible to the driver.
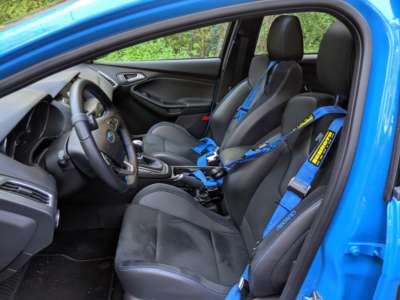
While the system can be slammed, it’s really not the goal, so this 1 inch drop from stock height is the baseline as I start to begin further tuning.


